
How to create a top sleeve for hanging art cloth
A wooden lath or a dowel fitted with metal eyes makes a great support for hanging art cloth. You just create a sleeve at the top of the cloth by turning over several inches and stitching it in place. While this is an efficient and functional solution, it presents an aesthetic challenge.
- If the eyes extend visibly beyond the edge of the cloth they create a distraction.
- If we cut the lath short enough to hide the eyes behind the cloth, inside the sleeve, then the cloth will wrinkle in the area near the eye when it is hung.
The instructions below explain how I create top sleeves in my cloth that are nicely finished, completely hide the lath and eyes, AND create no wrinkly top corners when hung. The illustrations show one side of a sample of cloth. The same treatment needs to be applied to both the left and right sides. That should be obvious, but---well, it never hurts to be completely clear when it comes to instructions.
Step 1: Prepare the hanging rod or lath.
Cut the lath to size an attach the metal eyes near the top edge of each end. The finished length of the wood plus the eyes should be about 1 inch shorter than the finished width of the cloth you are hanging. This size will place the outer edge of the each eye 1/2 inch in from the edge of the cloth--a sufficient distance to hide it from view.

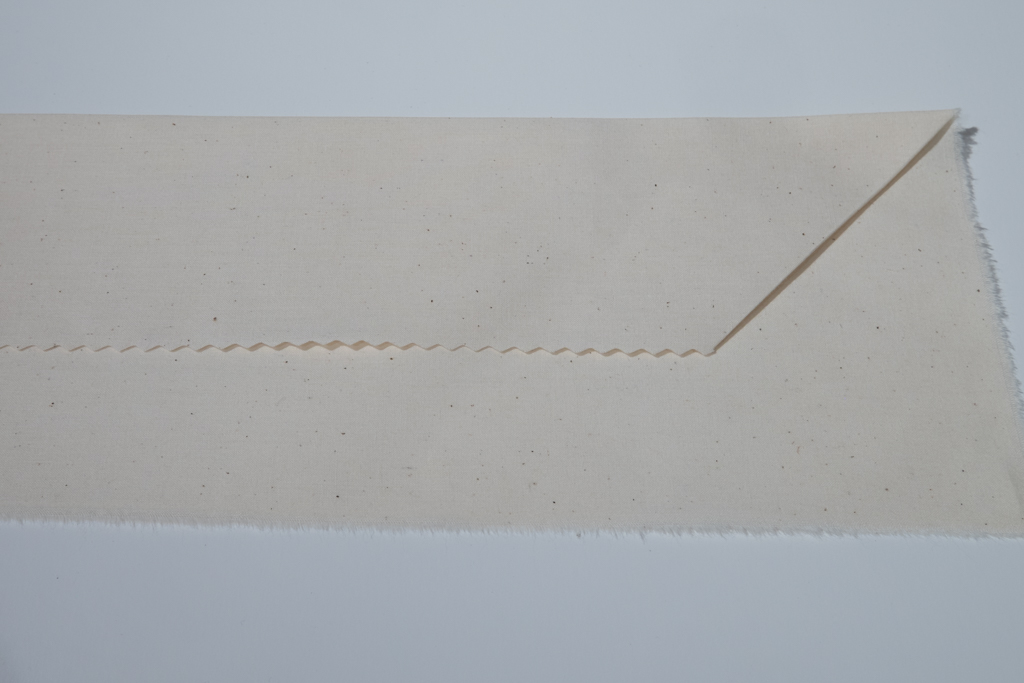
Step 2: Prepare the top sleeve
With the cloth face down on the work table, fold the top edge down (i.e., wrong sides together) to form a sleeve. The size of the sleeve will be determined by the length and width of the cloth and the size of the lath you're using. A 3-inch sleeve works well for 1-2 yard lengths of medium weight cloth, 24-36 inches wide.
Press the fold along the top edge, then turn under and press a 45 degree miter.
Stitch close to the edge of the miter.

Step 3: Create notches in the sleeve
Position a ruler 0.5 inches from the pressed top edge of the sleeve and mark a 1 inch long line, measuring from the edge of the miter. This line will be used to create an opening in the sleeve that will provide access to the metal eye in the supporting lath.
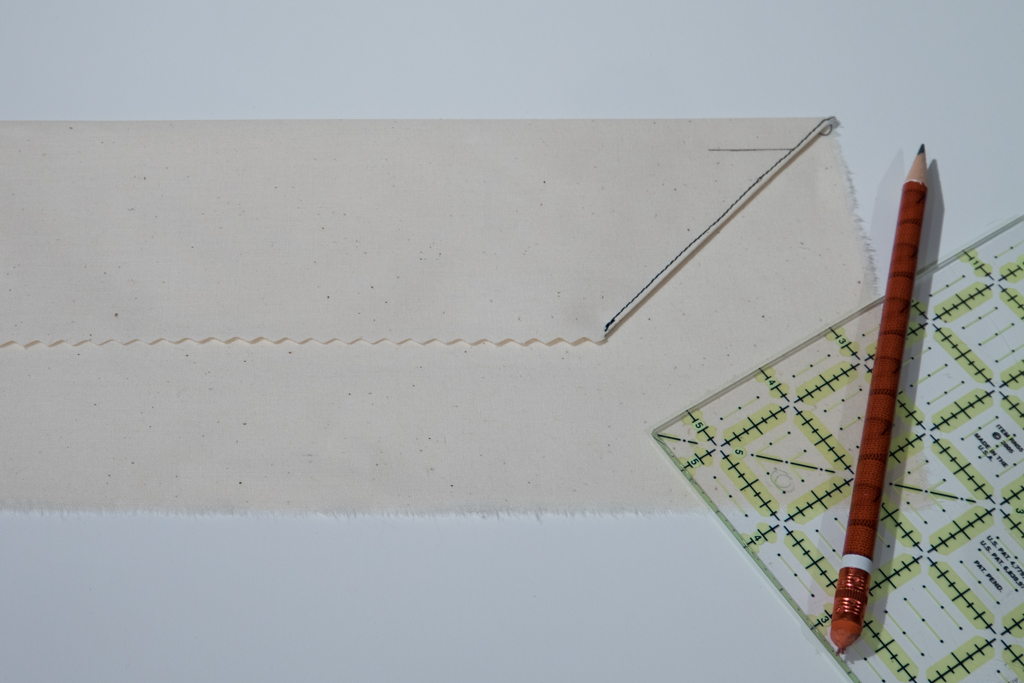
Using the line you just marked as a guide, stitch a button hole along the line and extending slightly off the cloth at the mitered edge.

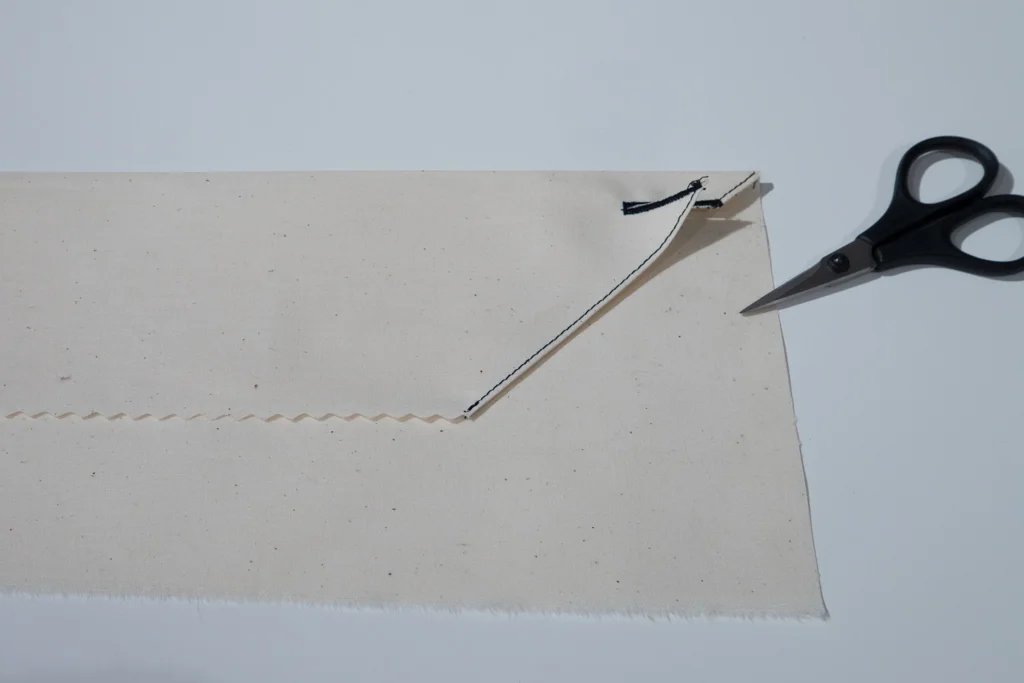
Clip open the button hole, cutting through the side of the miter.
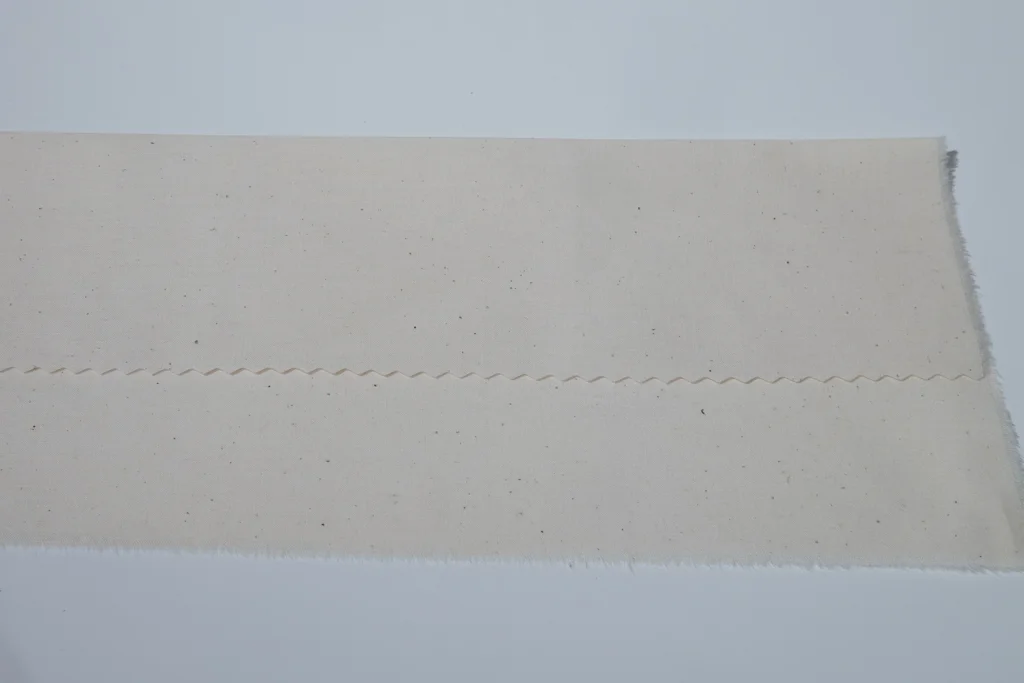
Step 4: Finish the sleeve.
Finish the raw edge of the sleeve. In the photo below I've pinked the edge, but it could be surged or turned under. I prefer a pinked edge for this seam location because it reduces the chance of raveling while minimizing bulk that might be visible from the front of the cloth.
Stitch the sleeve closed along the prepared seam from the bottom of one miter to the opposite. This means that the stitching will stop about 3 inches from the edge of the cloth (or whatever sleeve depth you've chosen).
I generally stitch this seam by machine with a long stitch length. Depending on the cloth, you might choose to use an invisible seam or stitch by hand.
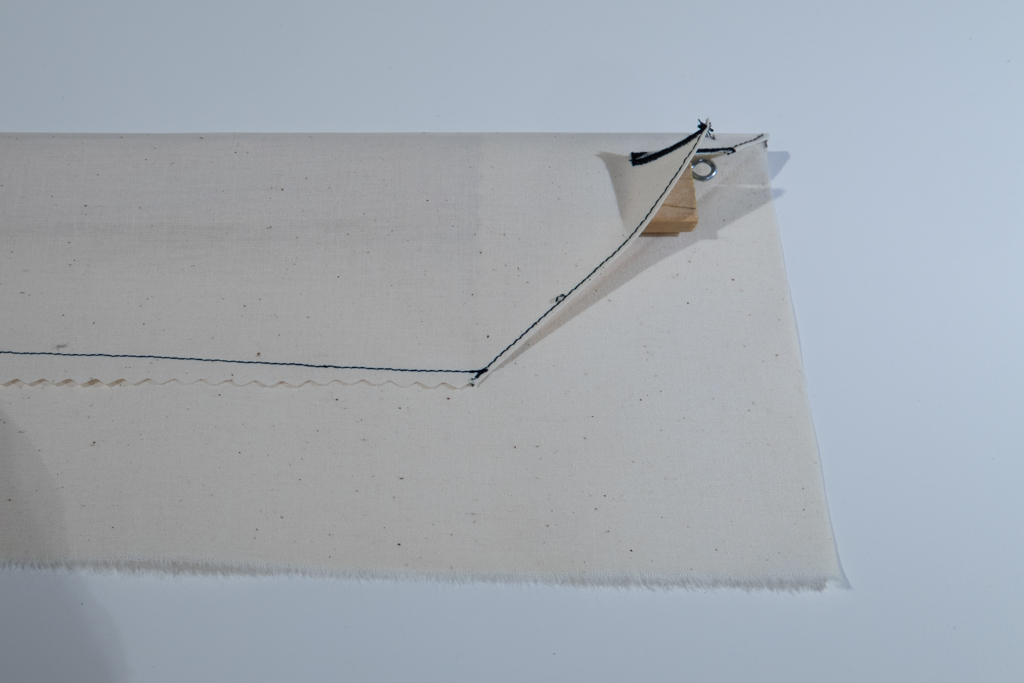
In the photo you can see the finished sample with the supporting lath inserted in the sleeve.
Copyright Russ Little, 2016